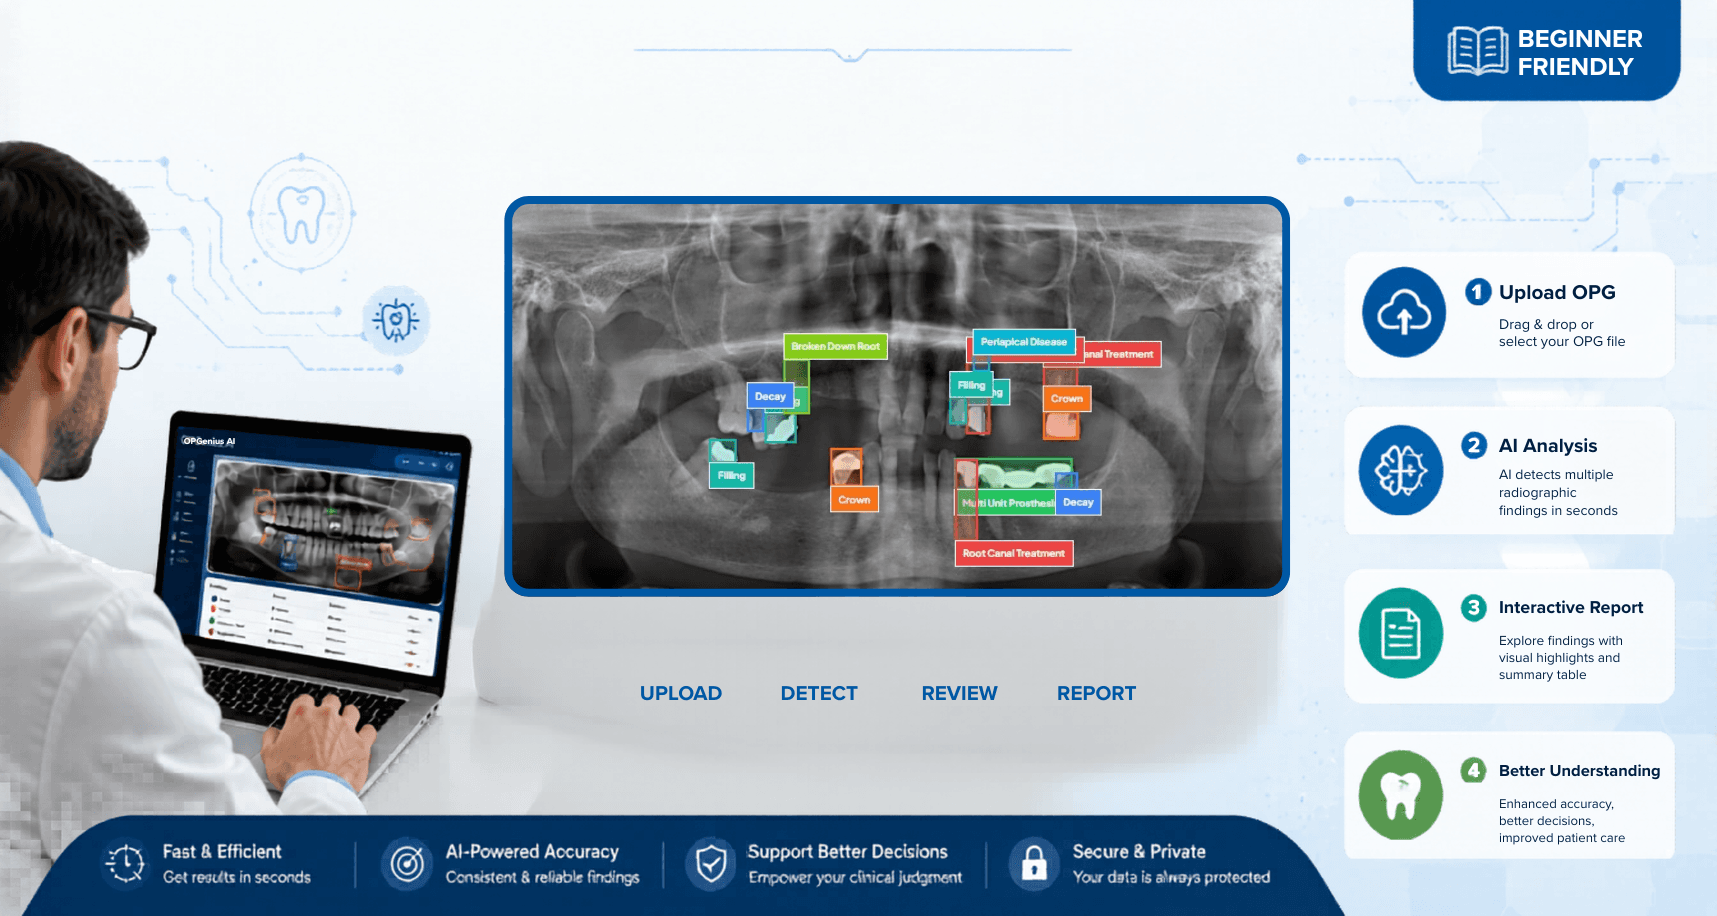
A Beginner's Guide to Using OPGenius AI
Learn how to use OPGenius AI to analyze dental panoramic radiographs (OPGs), explore AI-detected findings, generate structured reports, and streamline dental X-ray interpretation in minutes.
Have you ever looked at an OPG and wondered if you might have missed a subtle finding?
What if you had a second set of eyes, one powered by Artificial Intelligence, to help you analyze OPGs in seconds?
That's exactly where OPGenius AI comes in.
Whether you're a dentist, dental student, researcher, or radiology enthusiast, OPGenius AI is designed to make radiographic interpretation faster, smarter, and more consistent. In this guide, we'll walk through the entire process, from uploading an image to reviewing AI-generated findings.
First, head over to OPGenius AI website https://opgeniusai.com.
Once you're there, you'll be greeted by a clean and intuitive homepage designed to make radiographic analysis simple and accessible.
Here's the best part: you don't need to go through the hassle of signing up or logging in just to try it out. Simply click the Scan Now button located at the top right corner of the homepage, and you're ready to begin.
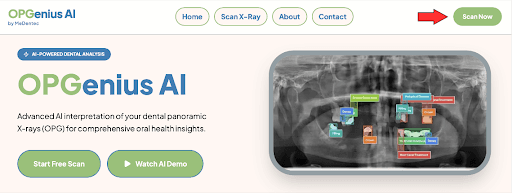
Let's begin our first scan
Ready?
Click the green Scan Now button and you'll be taken to the scanning page.
Now, simply drag and drop your OPG into the upload area or select the file from your device.
Before uploading, make sure your radiograph meets the following requirements:
✅ Good image quality
✅ Original digital (soft-copy) file
✅ Supported formats: JPG, JPEG, PNG, DICOM, TIFF
A quick tip before you upload
For the most accurate AI analysis, always upload the original digital radiograph provided by your radiology center.
Avoid:
❌ Photographs of printed OPG films
❌ Blurry or distorted images
❌ Low-resolution screenshots
If you're unsure about file formats or encounter any difficulties during the upload process, don't worry. Contact us and we will be happy to help.
Now that your OPG is ready, let's move on to the exciting part…...watching OPGenius AI analyze your radiograph.
Step 2: Explore the AI findings
Once your OPG has been processed, you'll be presented with a detailed AI-generated report.
At first glance, you'll notice that the radiograph is no longer just a grayscale image. OPGenius AI automatically highlights detected findings using color-coded boxes.
Why is this useful?
Instead of spending time searching through the entire radiograph, your attention is immediately drawn to areas that may require attention. The color coding also makes it easy to identify different conditions at a glance.
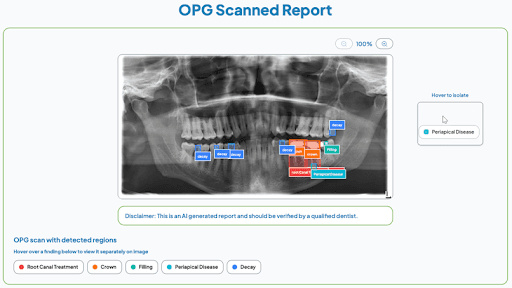
There is another impressive feature worth exploring.
When you move your cursor over any finding listed at the bottom of the analyzed OPG, something very intuitive happens on the radiograph.
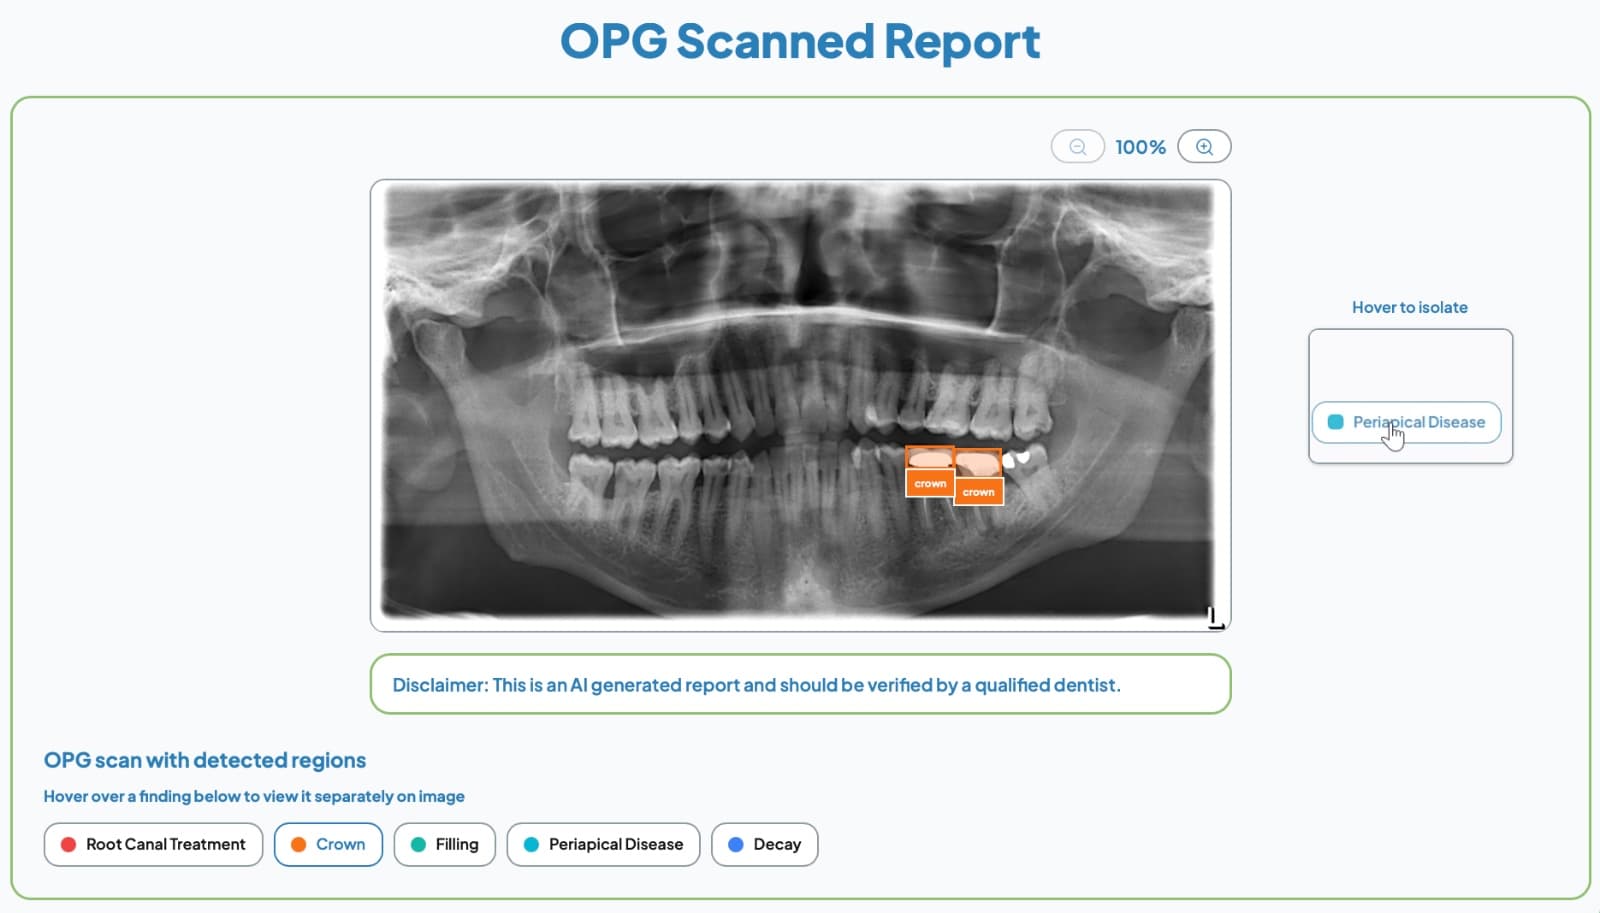
The selected finding becomes isolated, while all others gradually fade away. This creates a focused viewing experience where only the chosen finding remains highlighted. For instance, if you hover over a detected crown, the system will display only that crown highlighted on the OPG. Everything else disappears temporarily from view.
This makes it significantly easier to inspect, verify, and mentally map the AI’s detection without visual distractions.
This feature becomes especially valuable when working with complex radiographs that contain multiple overlapping findings. Instead of interpreting everything at once, you can now evaluate each finding one at a time in a structured manner.
The image below shows how hovering over the "Crown" finding isolates it from the rest of the findings, allowing for a clearer assessment.
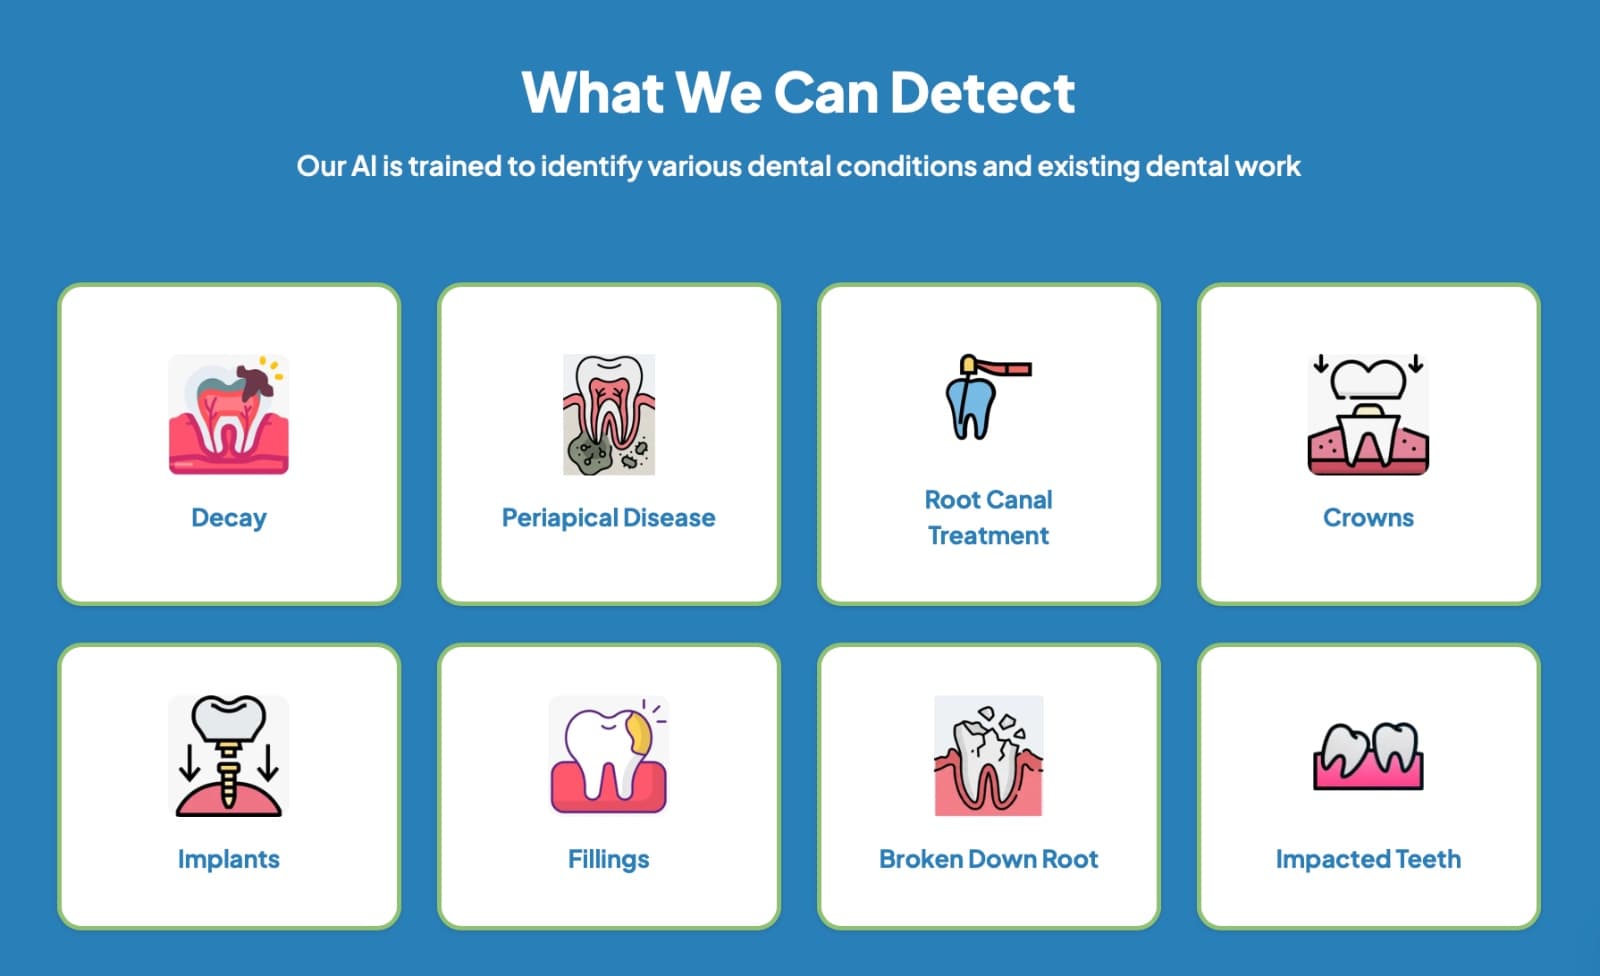
Curious about what OPGenius AI can detect?
Simply scroll down the homepage, and find a comprehensive list and cute icons of findings that OPGenius AI can detect.
Step 4: Summary reporting
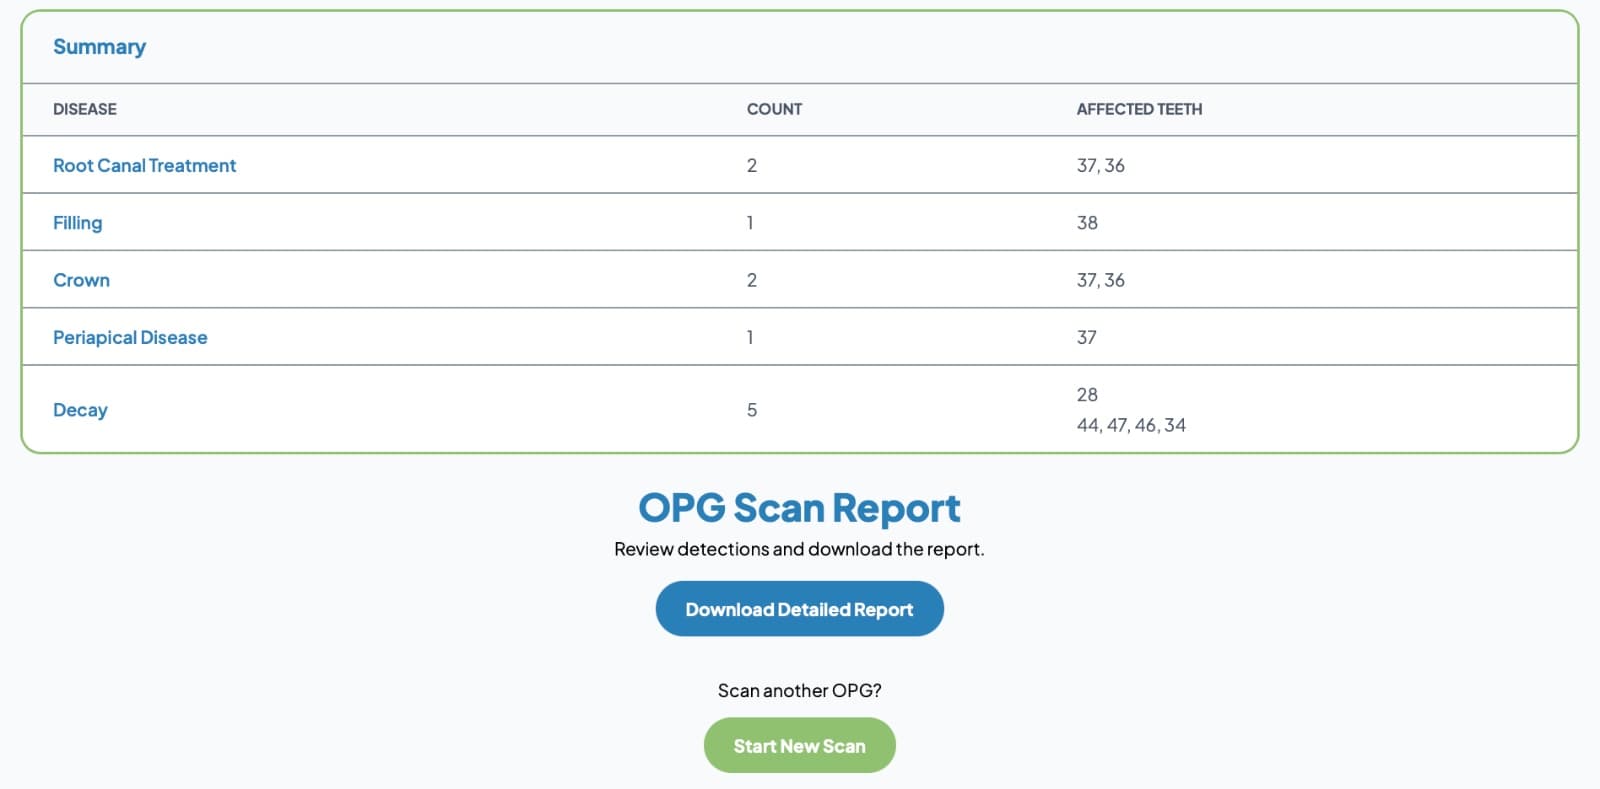
Once you have explored the interactive findings, you can scroll further down to access a comprehensive summary table.
This table brings everything together in a structured format, listing all detected findings alongside their associated tooth numbers.
Want to try again?
If you'd like to analyze another case, you don’t need to restart the process from scratch.
Simply press “Start New Scan” option to upload a new OPG and repeat.
OPGenius AI makes OPG interpretation less overwhelming and more intuitive.
Instead of manually searching through every corner of a radiograph, you’re guided step by step. Findings are highlighted, organized, and made interactive so nothing important is missed and everything is easier to understand at a glance.
In simple terms, it helps you see more clearly, interpret faster, and work with greater confidence.
Give it a try and enjoy exploring OPGenius AI for free.
Want to see AI-powered dental analysis in action?
Try a Free OPG Scan